5 Tips for Watery Eyes

If you have watery eyes then you know how annoying it can be, especially if you just did your makeup. Is it just me or does it keep getting worse once you notice it?
You can kiss that beautiful eyeshadow and eyeliner goodbye once that watery corner starts.
I recently experienced this with a 2-day client and here’s what I learned when I went home after that first day. The neat thing is, when I went back on the second day, I used all these tips and it WORKED!
I couldn’t tell you how happy the client and I were at the end of our appointment.
Try out these awesome tips that are sure to help:
Watery eyes are actually a result of dry eye so being proactive and using eye drops before you start your makeup will totally help.
Take a few deep breaths through the nose. Do this before you start the makeup application and during if the eyes start to feel sensitive.
Instead of using eyeshadows, try using waterproof pencils. You can also use a small blending brush to apply as you would an eyeshadow, just be sure to sure a super gentle hand.
Keep some q-tips handy. Anytime you see the eye water gently press a q-tip into the corner until the tear has been soaked up.
Use light tapping motions when working anywhere around the eyes. Avoid rubbing with brushes and tools as much as possible.
Craving more tips? Check out our guide on cleaning your makeup palettes.
You’ve been cleaning and organizing like a mad man! You’re on a roll! Your brushes are clean, now let’s jump into cleaning the rest of our makeup.
Bacteria likes to grow in dark, moist places, so properly sanitize your makeup, your skin will thank you!
Did you know all makeup has an expiration date? Yup! Grab a product, see that little open jar with “12M” on the back? That means, this product expires 12 months from the day you open it.
If you keep your makeup in the bathroom where it gets hot and steamy, cut that expiration date in half.
And it goes without saying, leaving your makeup in a hot car is really a bad idea.
It can be tough to remember when you opened a product, so if it smells funny or the color has changed, toss it!
This could be a sneaky reason as to why you have those annoying breakouts. Expired or “dirty” makeup can also spread Conjunctivitis (pink eye), Staph Infection, Sty’s, cold sores and even Herpes.
Not convinced yet? Check out this story of a woman who tried to sue Sephora after using a lipstick tester and contracting Herpes. Just do your body a favor and do not apply makeup testers directly to your skin.
Grossed out yet? I thought so. Grab your makeup bag, lets get to cleaning!
1. Mascara – 3 months
2. Lipstick – 12-18 months
3. Liquid Foundation – 12 months
4. Concealer – 6-9 months
5. Liquid Eyeliner – 6 months
6. Pencil Liners – 12 months
7. Powders – 24 months
You might be asking yourself, “how in the world can I keep track of all these dates?” Trust me, I couldn’t remember them all even if I wanted to.
I like to write the month and year I open the product somewhere on the packaging and slap a piece of tape over it to keep the ink from smudging off.
What you’ll need:
1. Counter or table space
2. 70% alcohol in a spray bottle or a makeup sanitizing spray
3. Pressed powder palettes (eyeshadow, blush, face powders etc.)
Step one:
Open your palettes and lay them out on a table or counter. You can do 1, 2, heck do all of them!
Protect your surface if needed with a towel or paper towel.
Step two:
Lightly mist your palette(s) with your alcohol or makeup sanitizing spray until the top layer is slightly damp. 2-4 spritzes usually does the job per palette (depending on the size).
Do not drench your palettes.
Step three:
Leave your palette(s) open to dry. This shouldn’t take more than a few minutes. Voila! You have sanitized your palette!
PRO TIP: Use a makeup wipe or a paper towel dampened with alcohol, wrap it around your index finger and wipe down the packaging of your palette. Wait until your palette is fully dry to use.
What you’ll need:
1. Pencil sharpener
2. 70% alcohol in a spray bottle or a makeup sanitizing spray
3. Pencils (eyeliners, lip liners, eyebrow pencils etc.)
4. Mini jar
Step one:
Pour your alcohol into a mini jar.
Step two:
Dunk your pencil into the mini jar of alcohol for a few seconds.
Step three:
Sharpen! Fully sharpen your pencil (fully 360 turn) to remove the entire top layer of product that has touched your skin. Let dry before putting the top back on.
PRO TIP: Soak your pencil tops and pencil sharpener in alcohol to sanitize them too!
So, when is the last time you cleaned your makeup brushes? I asked my mom that question and her response shocked me.
“You have to clean your brushes?” She replied with a confused face.
“Absolutely!”
Then I came to the realization that there are probably tons of other people who also don’t know about cleaning brushes.
With COVID-19, now is the perfect time to brush up on your makeup sanitation skills (pun intended).
Had any pesky pimples pop up lately? Dirty brushes could be the culprit.
Do you carry a couple brushes in your travel makeup bag to work or school?
Yeah, that brush is D-I-R-T-Y!
Brushes collect dirt, oil and dead skin, YUK! Let’s make them like new again!
Get ready. Set. LET’S DISINFECT!
What you’ll need:
1. Towel or paper towels
2. Antibacterial brush cleaner
3. Spray bottle (for brush cleaner)
4. Dirty makeup brushes
5. 70% alcohol (I prefer my alcohol in a spray bottle)
Step one:
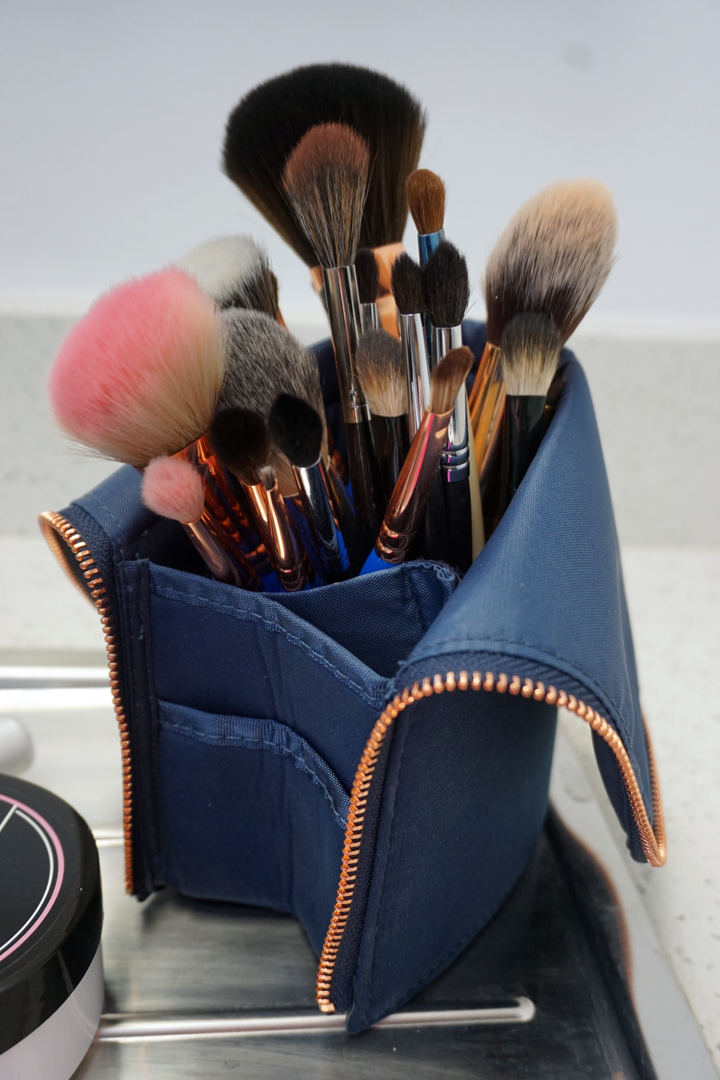
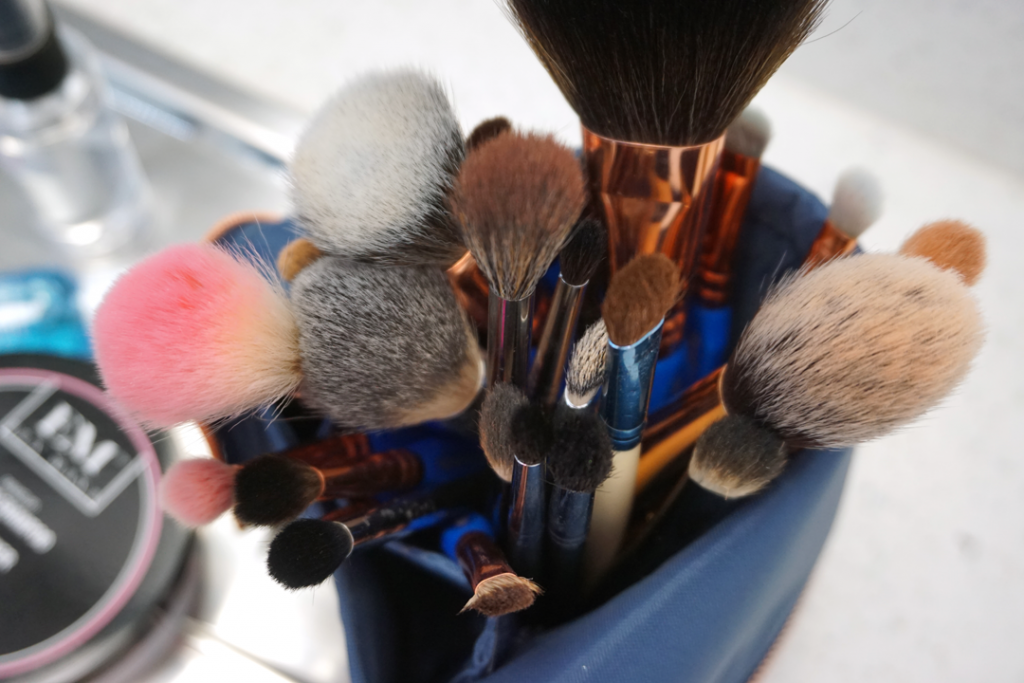
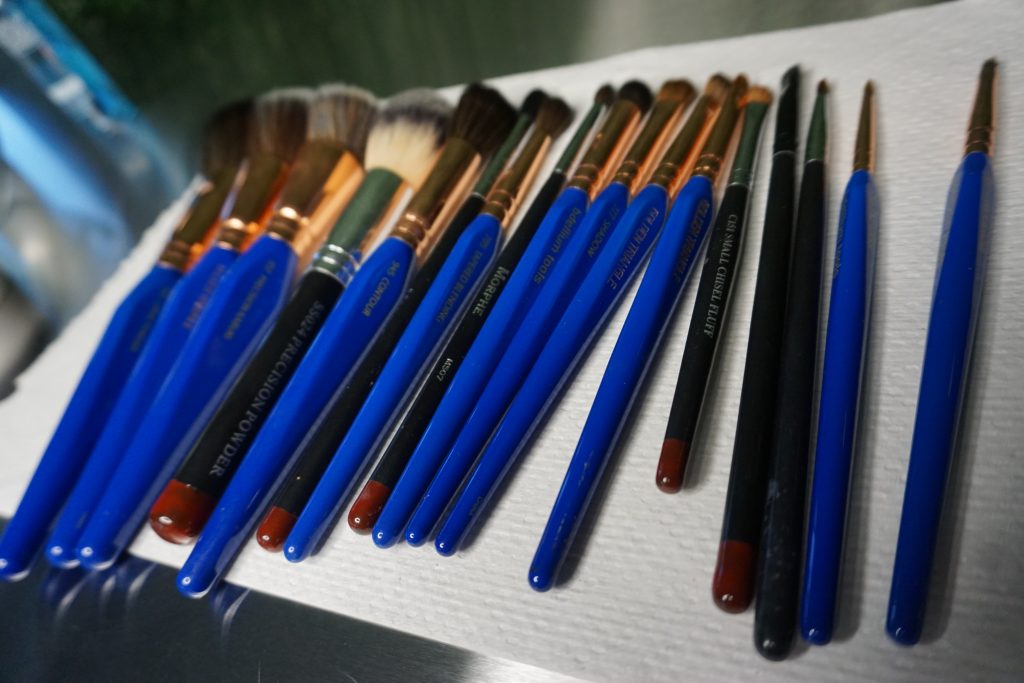
I like to lay out all my dirty brushes on a towel, so I have everything in front of me.
Step two:
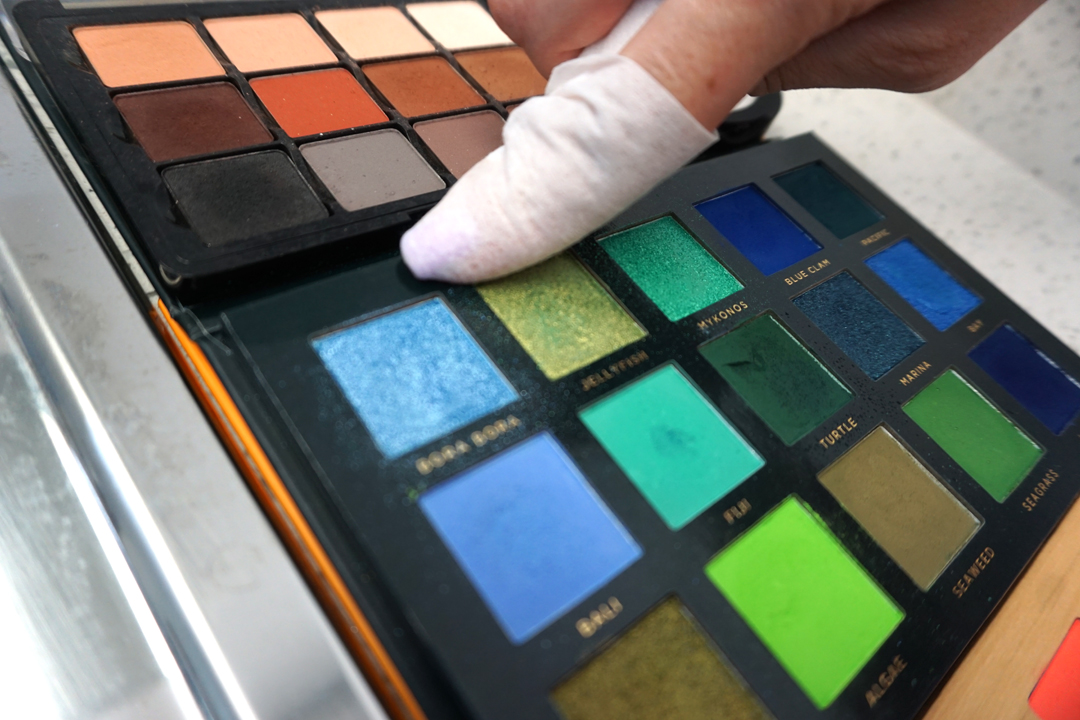
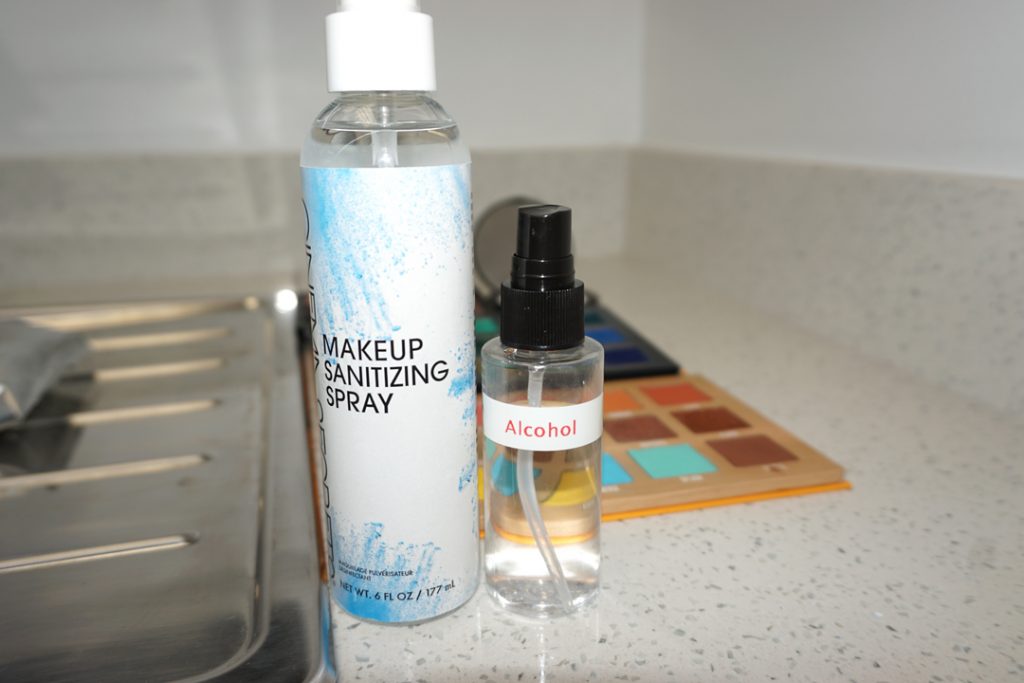
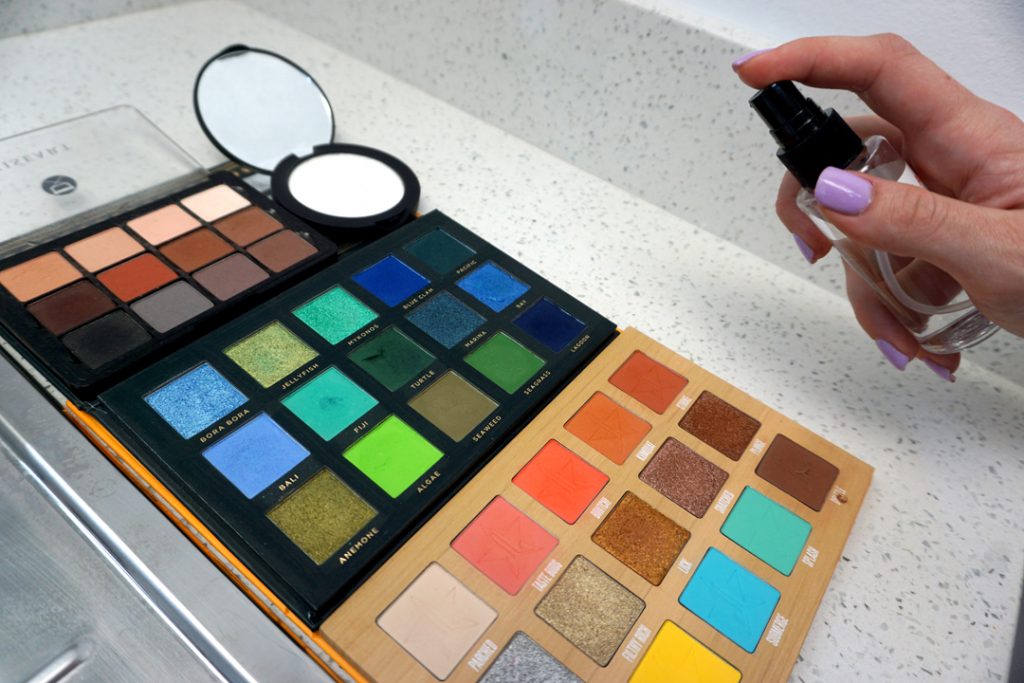
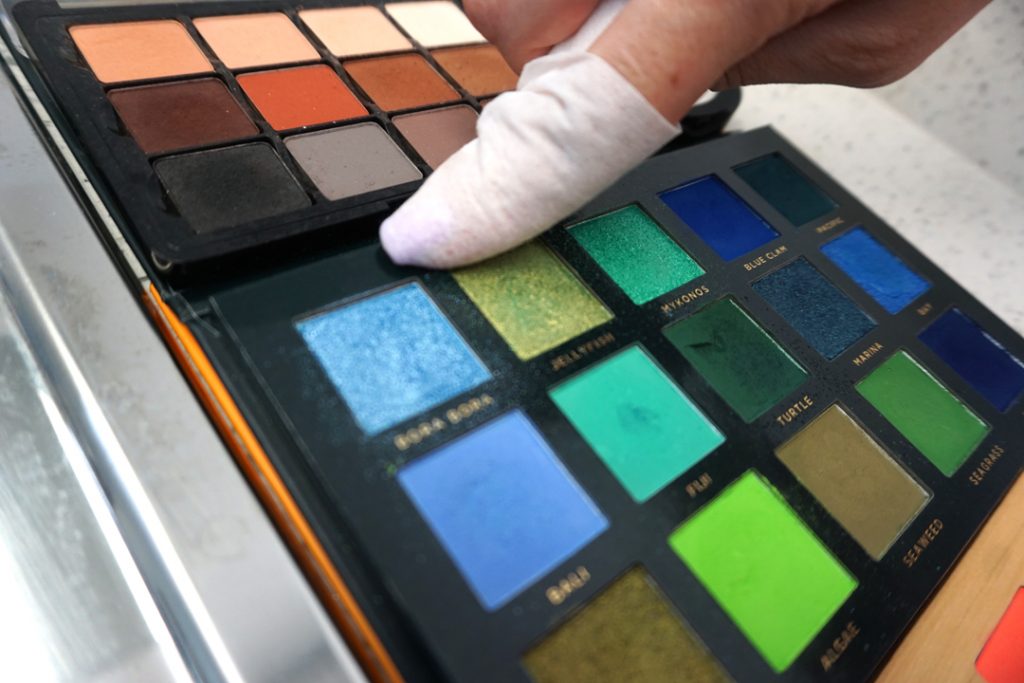
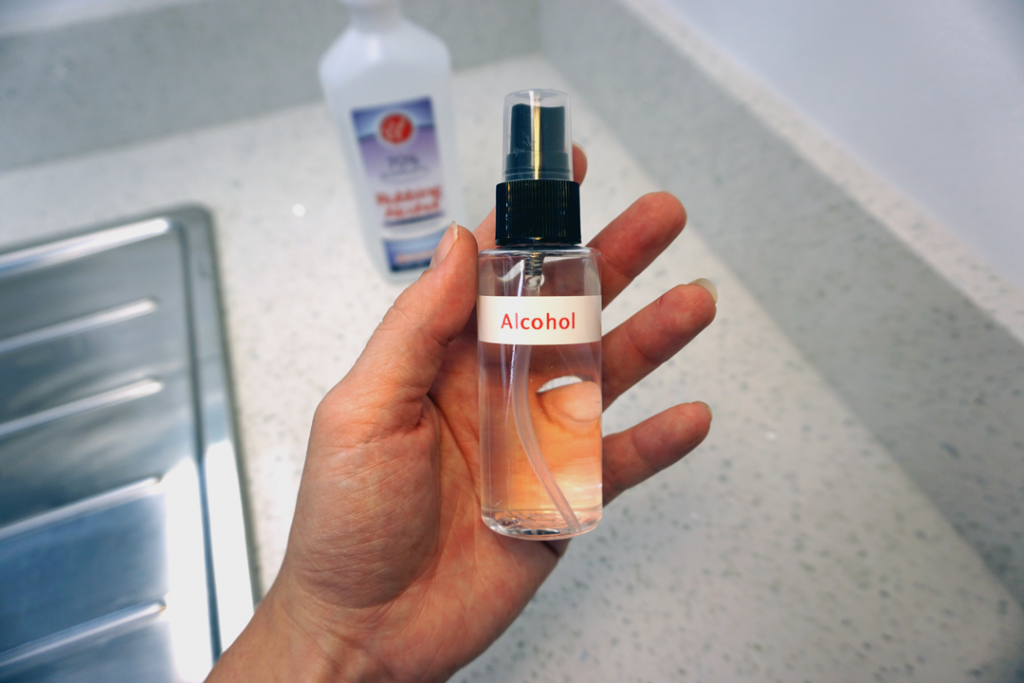
Lets clean your brush handles first. Take some alcohol, spray the handles and wipe off any makeup you see on the handle.
Step three:
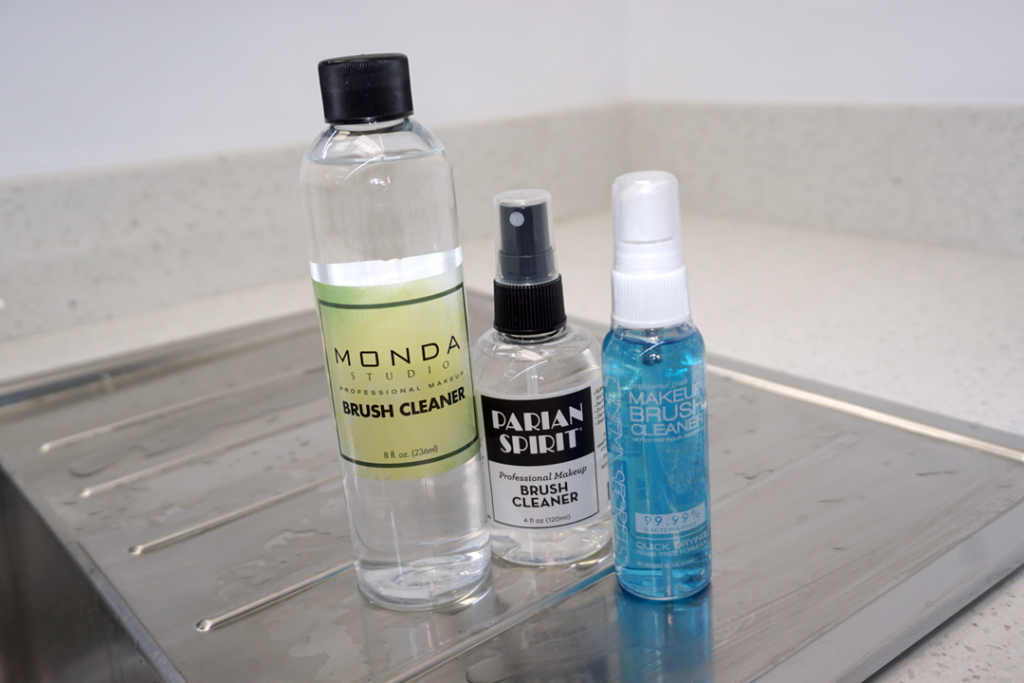
Lay down your clean towel or a few paper towels in front of you. Spray your brush cleaner liberally into the towel until its pretty damp. We need enough brush cleaner on our towel to be able to saturate every single bristle on our brush.
PRO TIP: Use a barrier between your towel and your table (like a plate) to prevent the brush cleaner from damaging your surface.
Trust me, it can eat away the enamel of a wood table, I know from experience unfortunately. Luckily it was my table and not a client’s! Eeek!
Step four:
Grab that brush! Now, rub your brushes bristles in the dampened towel until clean.
You might have to repeat step 3 a couple times to get the brush fully clean. Move to other spots of the towel as needed.
PRO TIP: If your brush is a round shape like a powder brush or a blending brush, use circular motions, follow the shape of the brush.
If your brush is flat, like an eyebrow brush or a packing brush, use side to side swiping motions.
Follow the shape of your brush!
PRO TIP: Be gentle with your brushes! Treat your brushes like you would treat your hair, this way they treat you well by lasting!
Step five:
Let those babies dry! Lay them flat on a clean towel or paper towel in an open space, or if you have a fancy contraption where you can hang your brushes (bristles down) that’s even better!
Just whatever you do, DO NOT LET THEM DRY STANDING UP! This will cause the liquid to break down the glue holding together your brush, then before you know it, your brushes are falling apart.
When using quick drying brush cleaner, your brushes should be dry in about a minute or less.
This way takes a bit longer for your brushes to dry, but I feel like this way gives your brushes a deeper clean. You’ll need a few hours for your brushes to dry with this method.
What you’ll need:
1. Towel or paper towels
2. Brush cleaner (photos & links) or 70% alcohol
3. Glass bowl or a cleaning tin
Step one & two:
(Same as method 1) Lay out all your dirty brushes on a towel, so everything is in front of you.
Clean your brush handles. Take some alcohol, spray the handles and wipe off any makeup you see on the handle.
Step three:
Lay down your clean towel or a few paper towels in front of you.
Pour some brush cleaner in a glass bowl or a cleaning tin.
Step four:
Grab that brush! Dip your brushes bristles halfway into the brush cleaner, then wipe til clean on your towel. Repeat dipping in the brush cleaner if needed.
Remember to be gentle and use hand motions mimicking the shape of the brush.
PRO TIP: DO NOT FULLY SUBMURGE YOUR ENTIRE BRUSH IN THE BRUSH CLEANER (or any liquid)!
Over time, this will loosen the glue holding your brush together and cause your brush to fall apart.
Step five:
Lay flat to dry and in a few hours, your brushes should be squeaky clean!
This way takes a bit longer for your brushes to dry, but I feel like this way gives your brushes a deeper clean. You’ll need a few hours for your brushes to dry with this method.
What you’ll need:
1. Towel or paper towels
2. Brush Shampoo (check out this DIY)
3. Silicon texture mat/ glove. This is optional but totally worth it!
4. Running water
Step one & two:
(Same as method 1) Lay out all your dirty brushes on a towel.
Clean your brush handles. Take some alcohol, spray the handles and wipe off any makeup you see on the handle.
Step three:
Let’s clean these bad boys!
Turn on your water faucet.
Get your bristle’s fully wet (do not fully submerge your brushes!)
Dunk that beauty into the brush soap or shampoo
Now lather and finesse those bristles (try using your hand or a silicon ribbed mat)
Rinse until the water runs clean
Step four:
VOILA! Finished! Now lay them and forget them.
Give your brushes about 8 hours to dry, the bigger the brush, the longer the drying time.
PRO TIP: Shape your brushes with your fingers before laying them to dry, this will help prevent those pesky stragglers and bristle frays.
On a sanitizing roll? Check out this step by step guide on how to sanitize makeup palettes and pencils.
© Polished Makeup & Hair 2025