How To Sanitize Makeup Palettes & Pencils
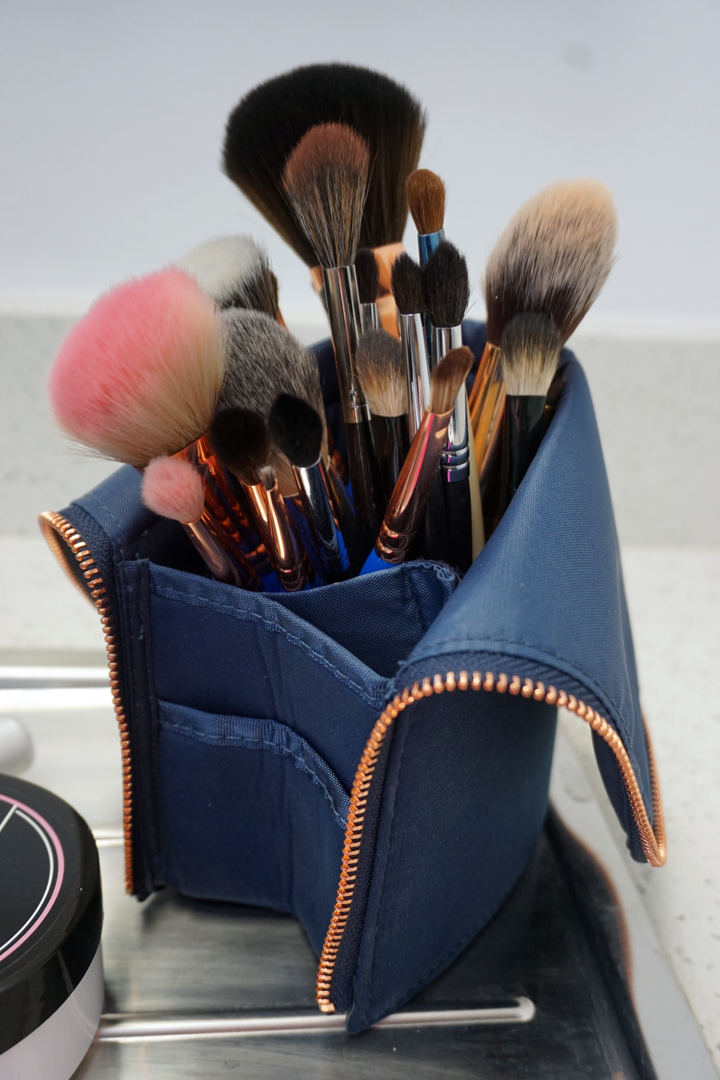
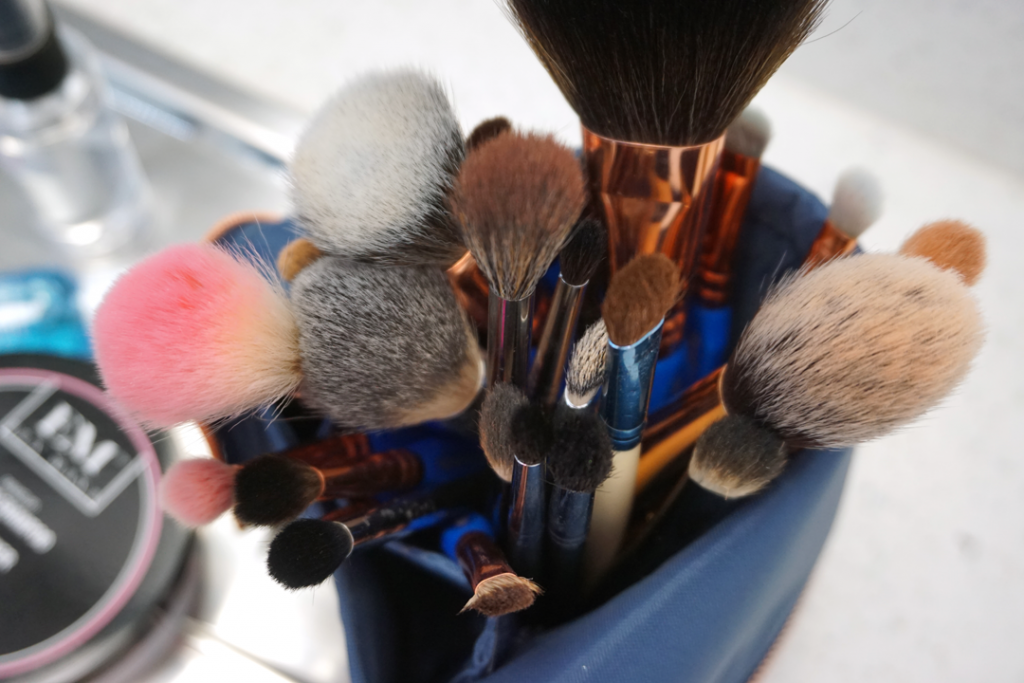
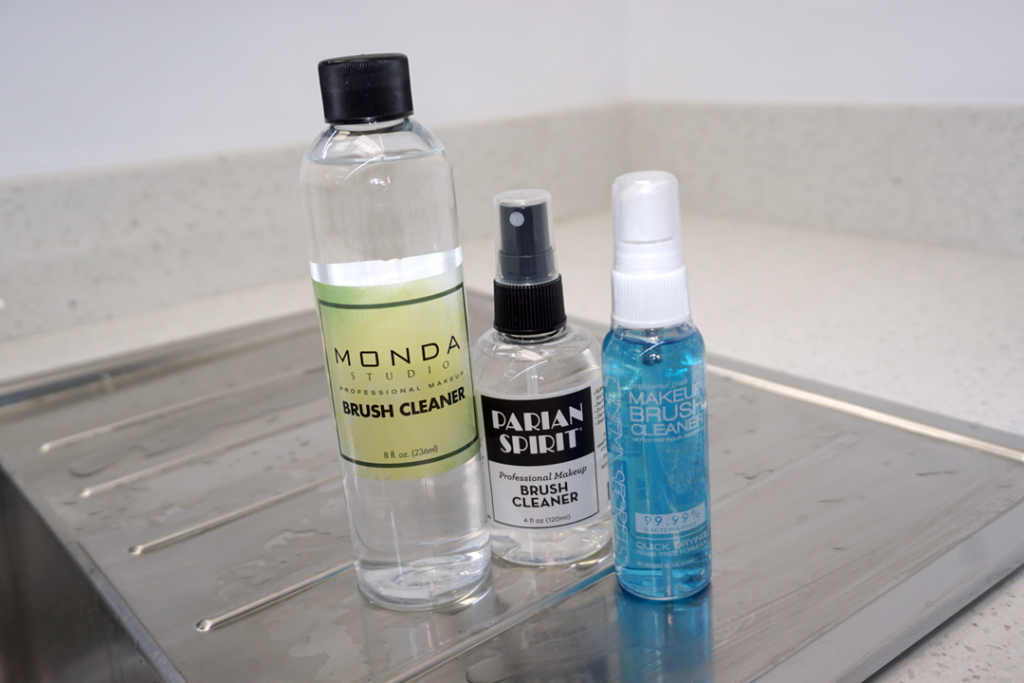
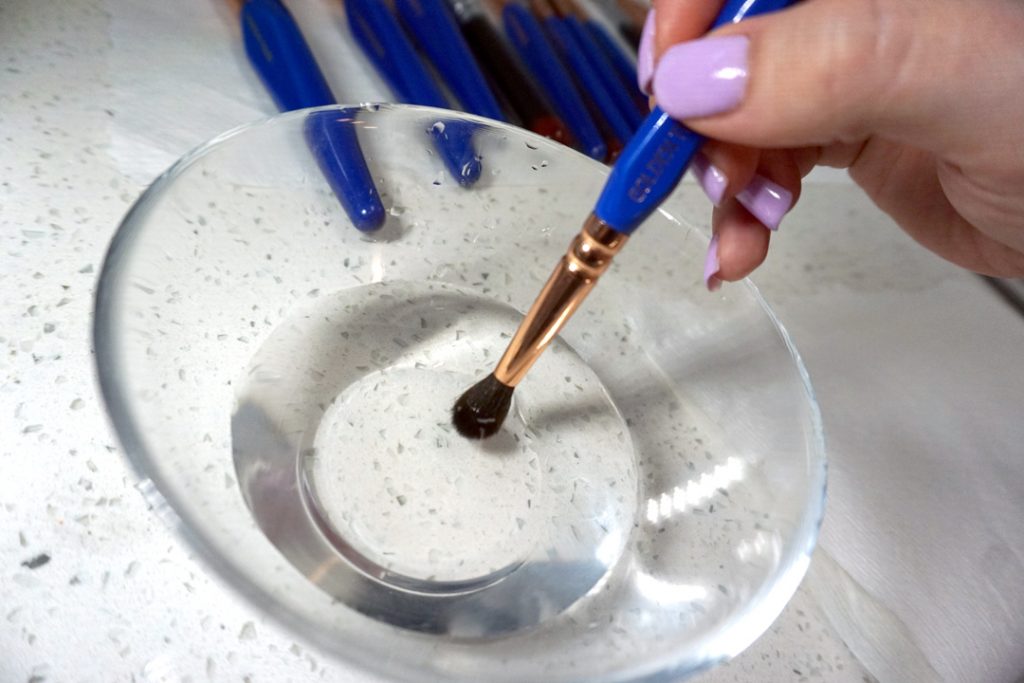
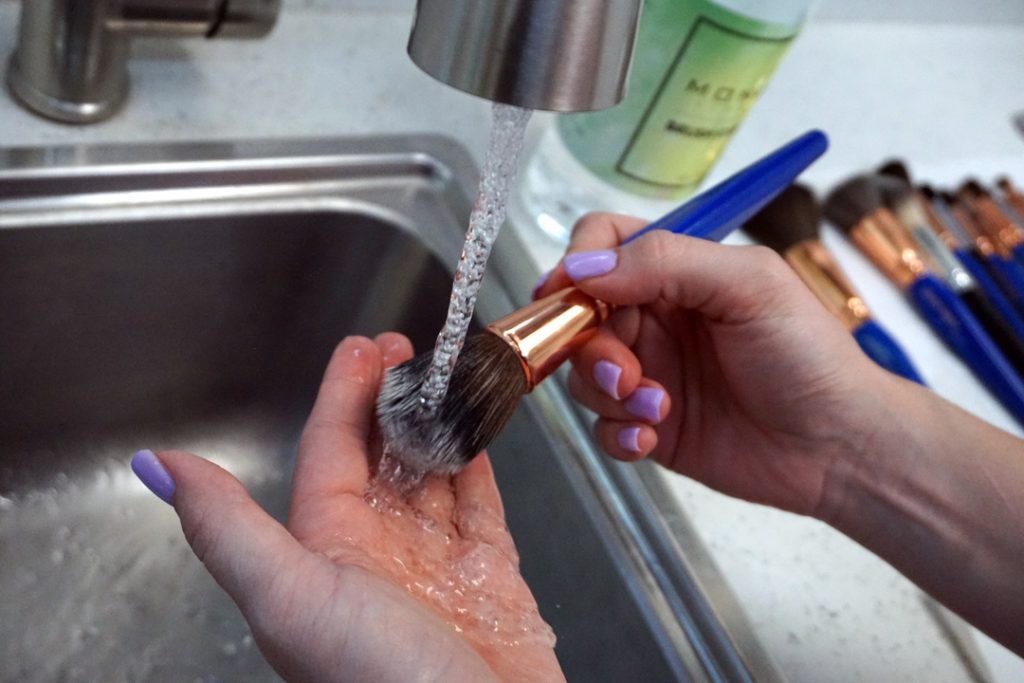
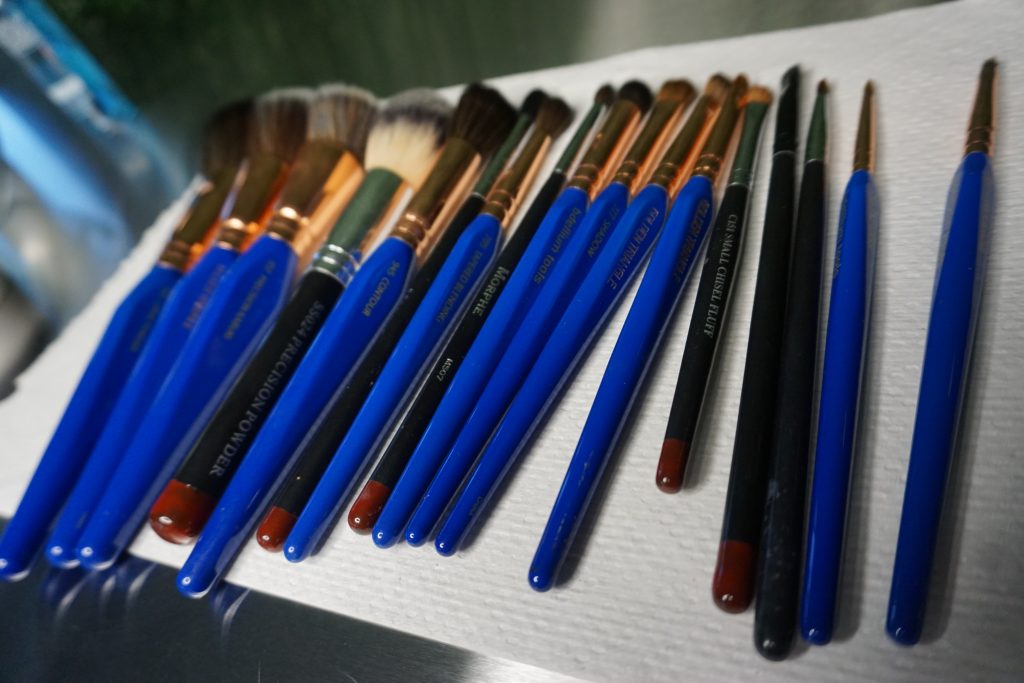
You’ve been cleaning and organizing like a mad man! You’re on a roll! Your brushes are clean, now let’s jump into cleaning the rest of our makeup.
Bacteria likes to grow in dark, moist places, so properly sanitize your makeup, your skin will thank you!
Did you know all makeup has an expiration date? Yup! Grab a product, see that little open jar with “12M” on the back? That means, this product expires 12 months from the day you open it.
If you keep your makeup in the bathroom where it gets hot and steamy, cut that expiration date in half.
And it goes without saying, leaving your makeup in a hot car is really a bad idea.
It can be tough to remember when you opened a product, so if it smells funny or the color has changed, toss it!
This could be a sneaky reason as to why you have those annoying breakouts. Expired or “dirty” makeup can also spread Conjunctivitis (pink eye), Staph Infection, Sty’s, cold sores and even Herpes.
Not convinced yet? Check out this story of a woman who tried to sue Sephora after using a lipstick tester and contracting Herpes. Just do your body a favor and do not apply makeup testers directly to your skin.
Grossed out yet? I thought so. Grab your makeup bag, lets get to cleaning!
Helpful expiration timeframes to keep in mind:
1. Mascara – 3 months
2. Lipstick – 12-18 months
3. Liquid Foundation – 12 months
4. Concealer – 6-9 months
5. Liquid Eyeliner – 6 months
6. Pencil Liners – 12 months
7. Powders – 24 months
Pro Tip
You might be asking yourself, “how in the world can I keep track of all these dates?” Trust me, I couldn’t remember them all even if I wanted to.
I like to write the month and year I open the product somewhere on the packaging and slap a piece of tape over it to keep the ink from smudging off.
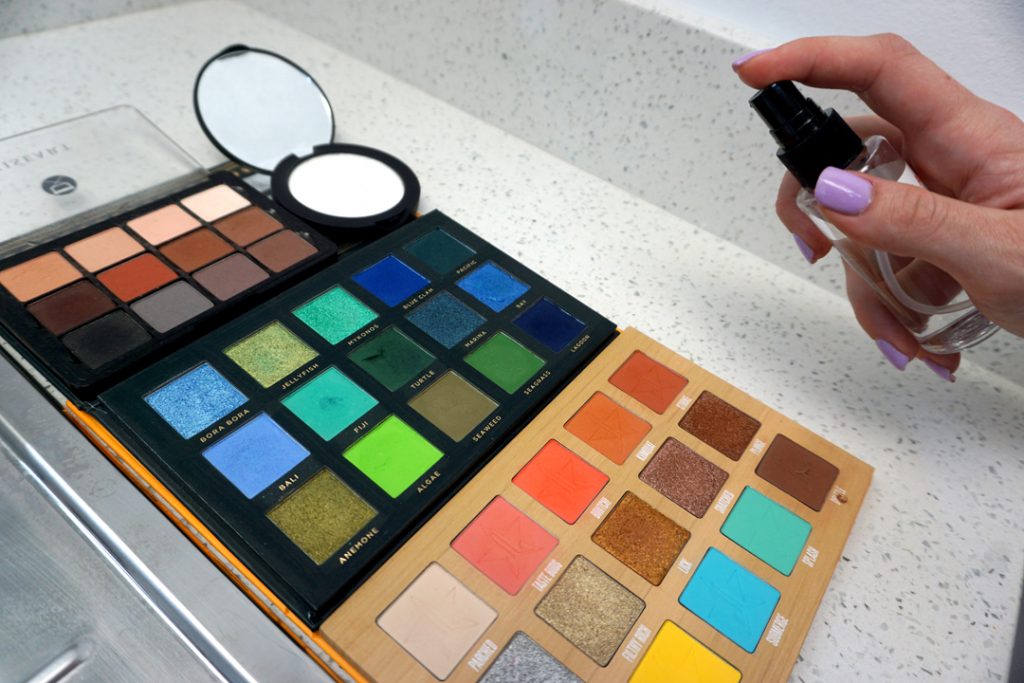
3 simple steps to sanitize your makeup palettes:
What you’ll need:
1. Counter or table space
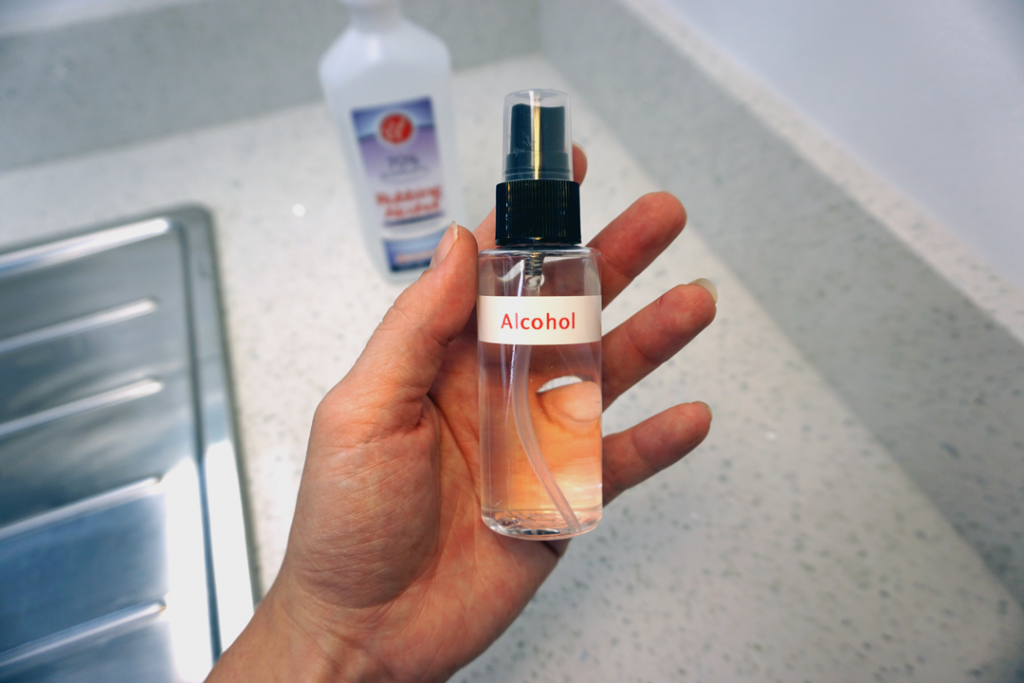
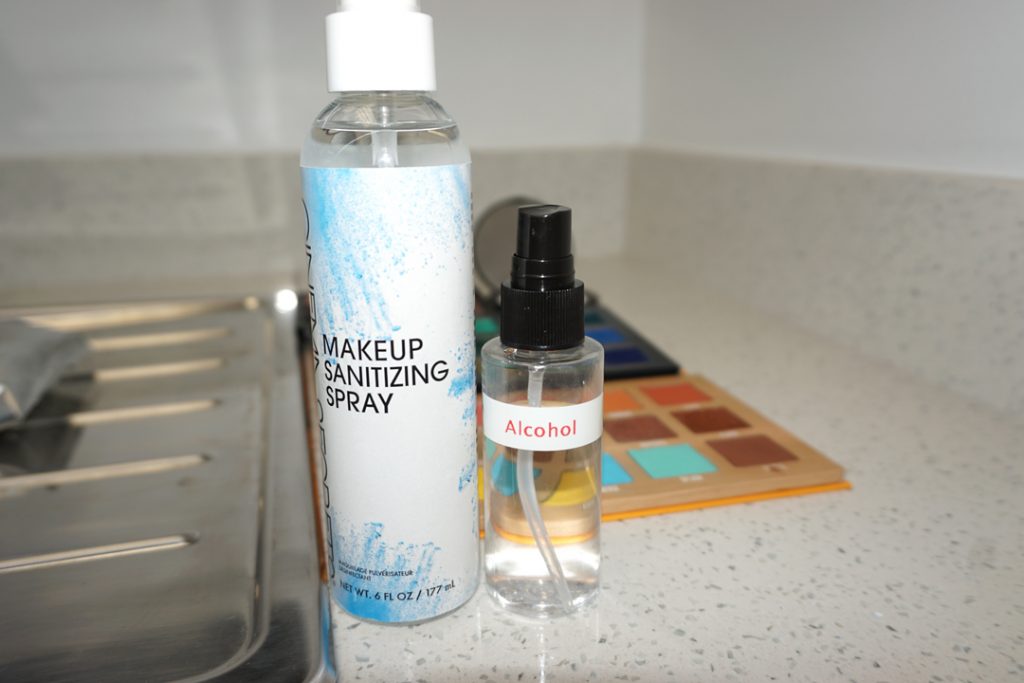
2. 70% alcohol in a spray bottle or a makeup sanitizing spray
3. Pressed powder palettes (eyeshadow, blush, face powders etc.)
3 simple steps
Step one:
Open your palettes and lay them out on a table or counter. You can do 1, 2, heck do all of them!
Protect your surface if needed with a towel or paper towel.
Step two:
Lightly mist your palette(s) with your alcohol or makeup sanitizing spray until the top layer is slightly damp. 2-4 spritzes usually does the job per palette (depending on the size).
Do not drench your palettes.
Step three:
Leave your palette(s) open to dry. This shouldn’t take more than a few minutes. Voila! You have sanitized your palette!
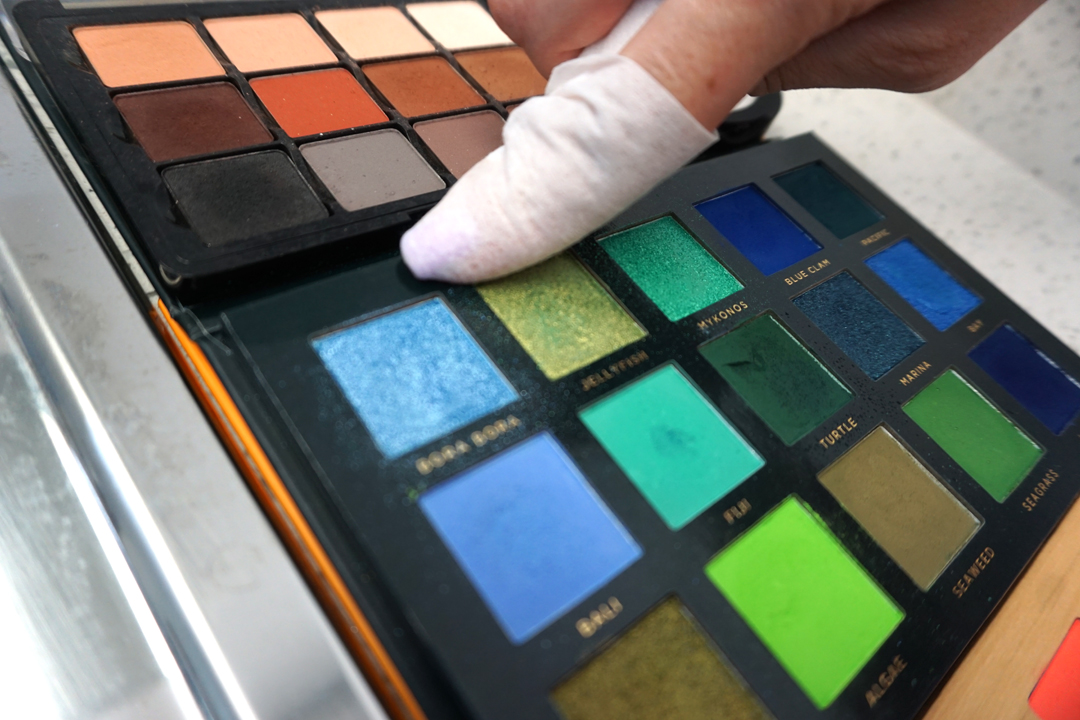
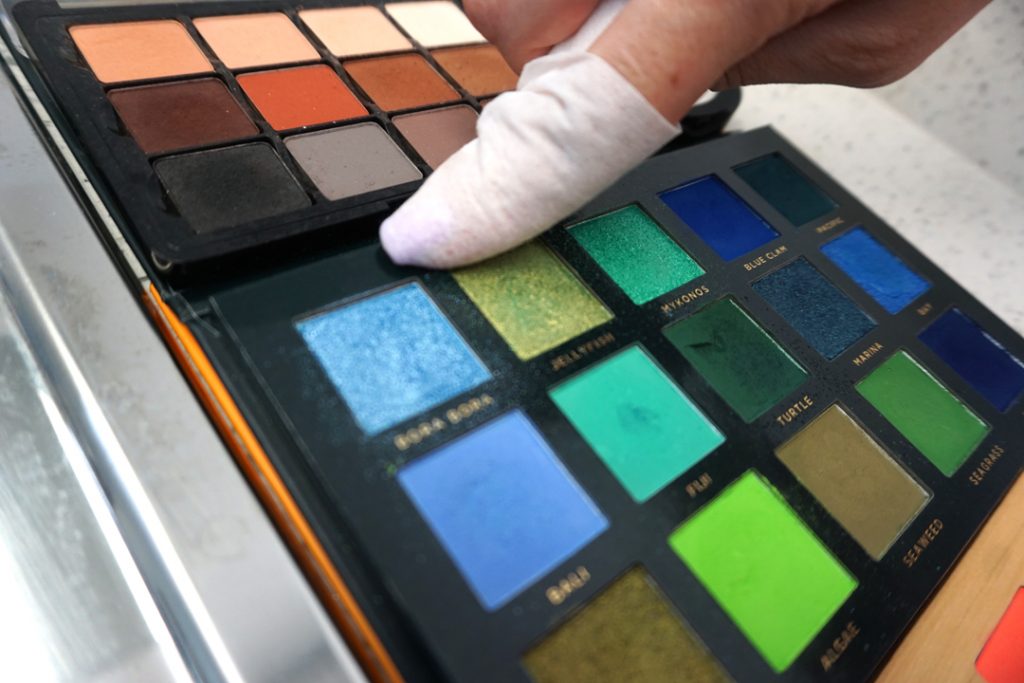
PRO TIP: Use a makeup wipe or a paper towel dampened with alcohol, wrap it around your index finger and wipe down the packaging of your palette. Wait until your palette is fully dry to use.
Clean your makeup pencils in 3 easy steps:
What you’ll need:
1. Pencil sharpener
2. 70% alcohol in a spray bottle or a makeup sanitizing spray
3. Pencils (eyeliners, lip liners, eyebrow pencils etc.)
4. Mini jar
The Steps
Step one:
Pour your alcohol into a mini jar.
Step two:
Dunk your pencil into the mini jar of alcohol for a few seconds.
Step three:
Sharpen! Fully sharpen your pencil (fully 360 turn) to remove the entire top layer of product that has touched your skin. Let dry before putting the top back on.
PRO TIP: Soak your pencil tops and pencil sharpener in alcohol to sanitize them too!